Before you issue a real report, add your name and phone, your IQP registration number, and your company details. All three print on every report.
Your details and IQP registration
- Go to Settings → You.
- Check your Full name and add a Phone number for report questions. Tap Save.
- Under IQP registration, tap Add. Enter your IQP number and the specified systems you are registered for.
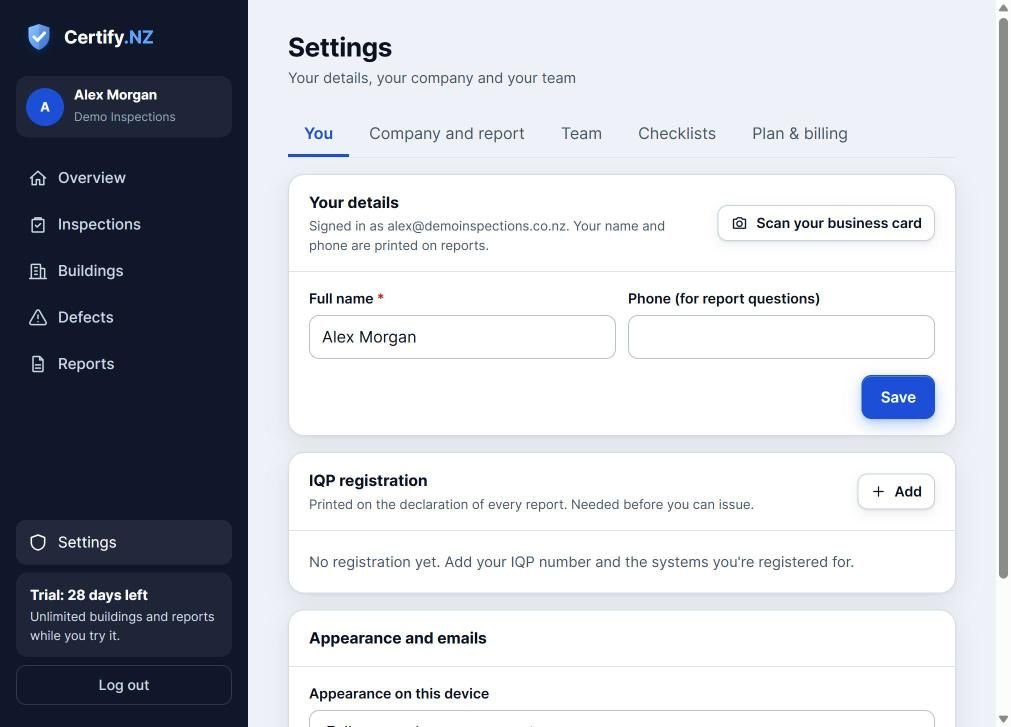
Tip: Scan your business card fills your details from a photo. You check everything before saving.
Company and report look
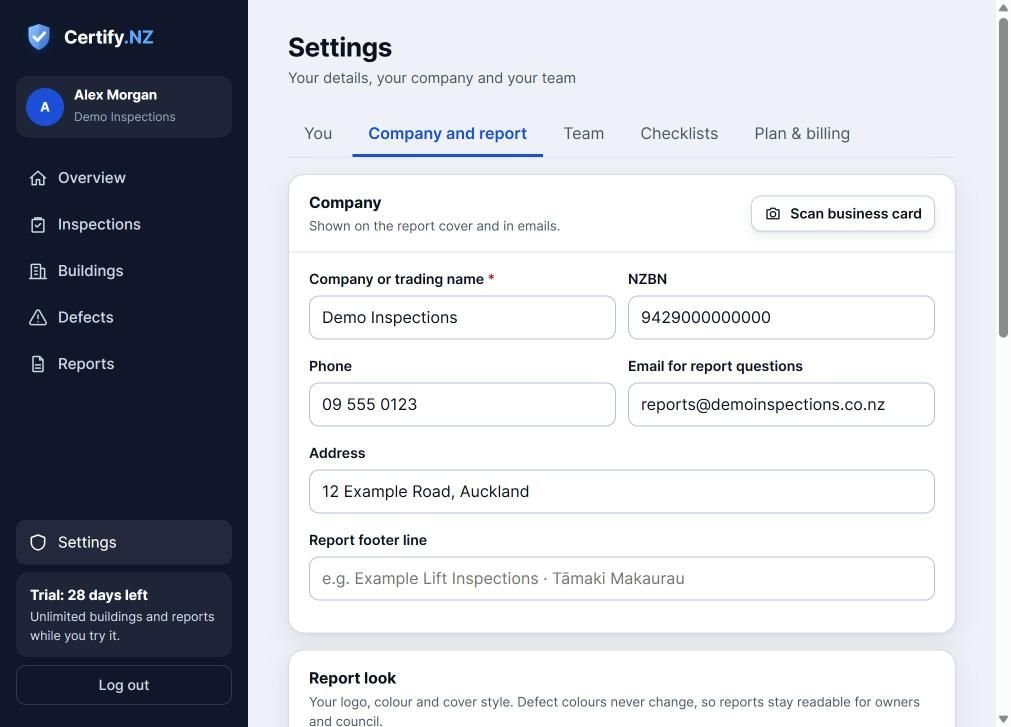
- Go to Settings → Company and report.
- Enter your company or trading name, NZBN, phone, an email for report questions, and your address.
- Under Report look, upload your logo, pick a brand colour and choose a cover style.
- Tap Save company.
AI help (optional)
On the same tab you can turn on AI help. It reads photos and compliance schedules, tidies notes, fills checks from spoken notes and drafts summaries. You always see and confirm what it suggests.
Questions
Why can't I issue a report?
Add your IQP registration number in Settings → You. It is printed on the declaration, so a real report can't be issued without it.